This guide to mobile A/B testing with SplitMetrics will cover the following aspects:
- Adding apps to your account;
- Creating an experiment;
- Deleting an app.
Mobile A/B Testing with SplitMetrics: Adding Apps to Account
- Click the “Add New App” button in the top right-hand corner of your Dashboard.

- (a) If your App is already live, Enter URL of your app in the App Store in which you are going to run A/B tests.
For instance, if you want to perform mobile a/b testing in the US store, here are the examples of relevant URLs:
- App Store https://itunes.apple.com/us/app/xxxxx/id0000000000?mt=8
- Google Play https://play.google.com/store/apps/details?id=xxx.xx.xx.xxxxxxx&hl=us
Note: 1 App means 1 localization. If you want to perform mobile a/b testing for different localizations, please, Add New App for each.
- (b) Tap the “Add application manually” button, if your App is on pre-launch (soft-launch) stage.

Note: all information for a live App is uploaded automatically. For App on pre-launch, you should upload Icon and fill in all gaps manually.
- Tap the “Add Application” button.

Well done! Your App is added. Let’s move to Experiment Creation.
Mobile A/B Testing with SplitMetrics: How to Create Experiments
- Log into your SplitMetrics Dashboard, in the left-hand navigation find ‘Experiments’ and click the “Create New Experiment” button.

- Select the appropriate platform device, the store page and the element you are testing.
Note: landing pages for phones and tablets are different and you should run separate tests for them. Make sure you’re sending iPhone users only to an iPhones experiment when you set up a campaign. Otherwise, we will filter out all ‘wrong devices’.
The same principles are applied with Android phones and Android tablets mobile A/B testing.
Step 1. Experiment Set Up
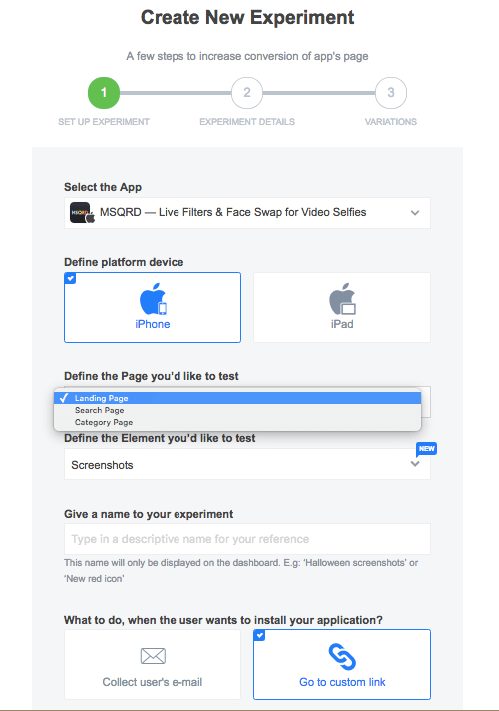
- Pick the Element you’d like to test. There is a list of the elements that you can test with SplitMetrics.

- Name your experiment. This name you will see only on your dashboard.
- (a) If your App is live, the system will automatically choose ‘Go to custom link’, which means users will be redirected from your Landing Page to the App Store/ Google Play in case of clicking ‘Get”.
With ‘Go to custom link’ option, you will be able to add a tracking link on the 3rd step of the experiment if you want to track the number of installs in the real store (after the redirect from the experimental page to your real app store page).
Note: we have integration with AppsFlyer, so the tracking is activated when your experiment is published.
- (b) If your App is not live yet (pre-launch), we do advise to pick up “Collect user’s email”. When a user taps the “Get” button on the experimental page, the pop-up message will appear saying that the app isn’t live yet and asking to leave an email address. We provide the list of emails when the experiment is finished. Below, you can find the example of a pop-up message for collecting Emails.

However, even if your App is in the pre-launch phase, you can choose “Go to custom link” and on the 3rd step put absolutely any link you want users to be redirected to, e.g. a page with a list of your other apps, main store page, your website and so on.

- Then, click “Next Step” button.
Step 2. Experiment details
- In this step you should upload the information that will be the same for all variations. Information is mostly pulled from the store if your app is already live. For apps in pre-launch, you need to add information manually.

Some elements, such as subtitles, video and featured banner are always uploaded manually. Apple API doesn’t allow us to upload these from the store.
- For Reviews by rating, you can use either percentage (100% altogether without “%”) or take information from iTunes Connect.
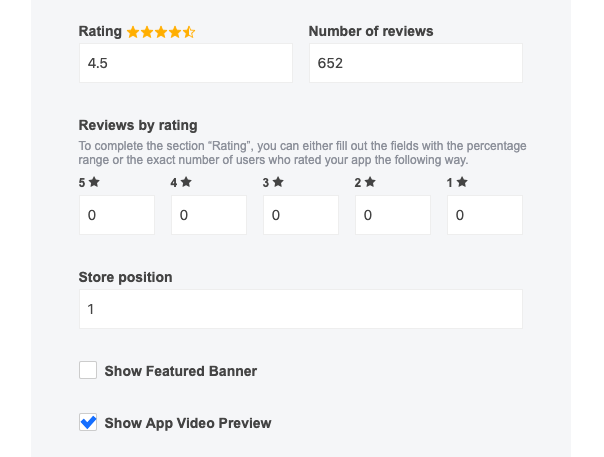
- You can add 1-3 videos manually. The display sizes have different specifications for videos. Make sure that you upload two different sets of videos that fall under the following requirements:
Videos for a 6.5″ display (will be used for 6.5”, 6.1”, 5.8” displays):
- Format: .mp4;
- Duration: 15-30 sec;
- Resolution: 1080x1920px (portrait), 1920x1080px (landscape);
- Max. size (recommended): 30mb.
Videos for a 5.5″ display (will be used for 5.5” displays and smaller):
- Format: .mp4;
- Duration: 15-30 sec;
- Resolution: 886x1920px (portrait), 1920x886px (landscape);
- Max. size (recommended): 30mb.
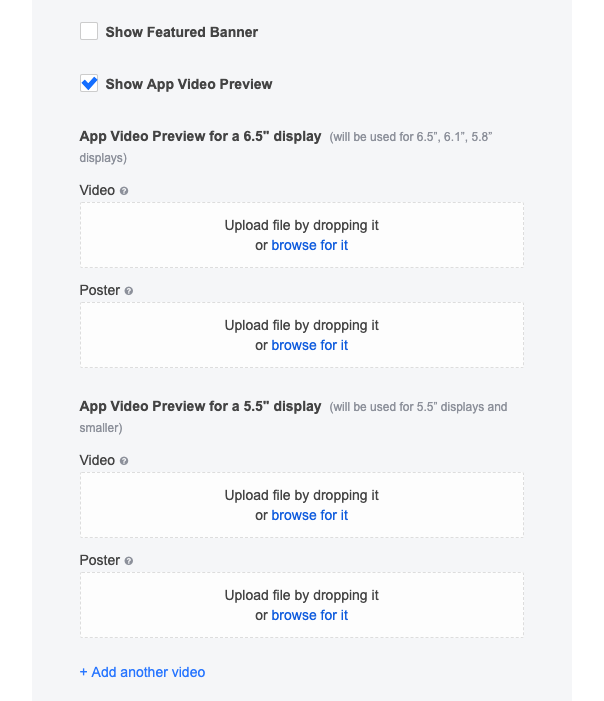
- SplitMetrics requires a Video Preview Poster and you need to upload it separately from the video. ‘Video Preview Poster’ is the image that your visitors see while the Video Preview is loading (1-2 seconds).

- The store language is defined for each particular experiment. If you have uploaded an app from the US store, but the language in the experiment is French, your app page elements will be pulled from the US store, but all buttons and subtitles will be in French.

Step 3. Variations editing
8. At this step, we add/delete/edit variations for further mobile A/B testing. We recommend to create 3-4 variations and test one variable at a time.
The display sizes have different specifications for screenshots. Make sure that you upload two different sets of screenshots that fall under the following requirements:
Screenshots for a 6.5″ display (will be used for 6.5”, 6.1”, 5.8” displays):
- Format: .png;
- Resolution: 1242x2688px (portrait), 2688x1242px (landscape).
Screenshots for a 5.5″ display (will be used for 5.5” displays and smaller):
- Format: .png;
- Resolution: 1242x2208px (portrait), 2208x1242px (landscape).
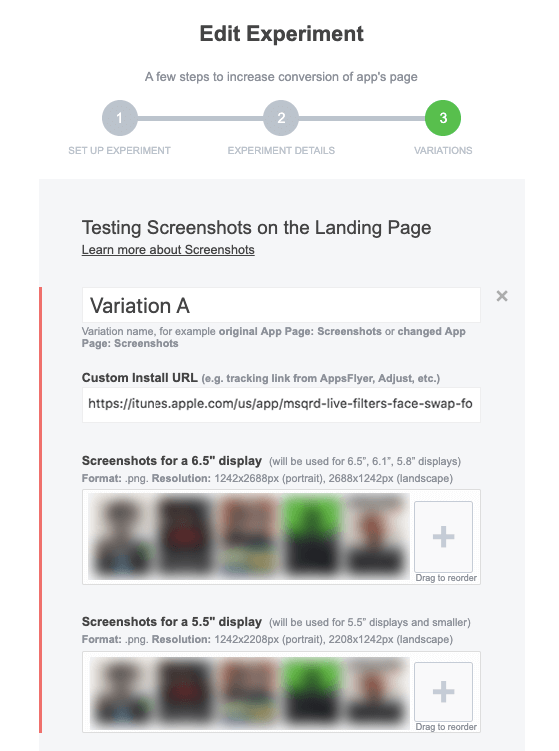
Custom Install URL is for the link generated inside your tracking partner to track the number of actual installs after the redirect to your real App Store page. You generate a link for each variation inside Adjust, Tune, Kochava, etc.
Note: SplitMetrics is integrated with AppsFlyer, so you don’t need to insert the tracking links on the 3rd step of the experiment. The integration is activated inside the Running experiment.
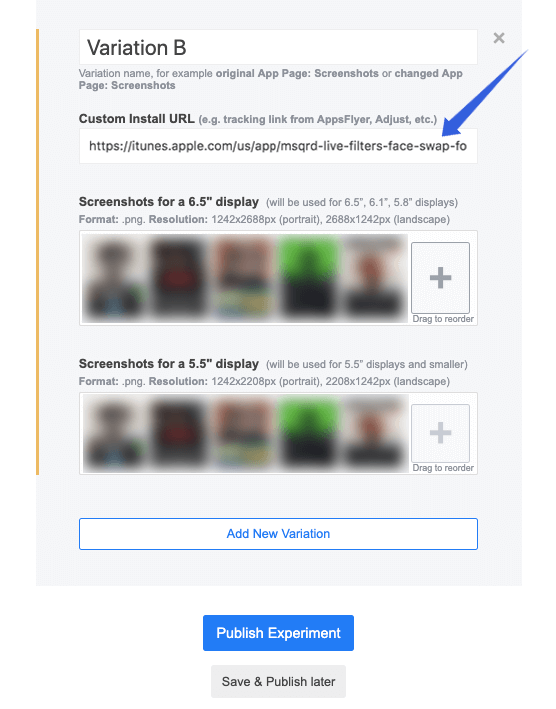
- You can publish experiment or save it and publish later. Mind that you are able to make changes only to Drafts. However, if you’ve already published the experiment, we can edit it on the backend.
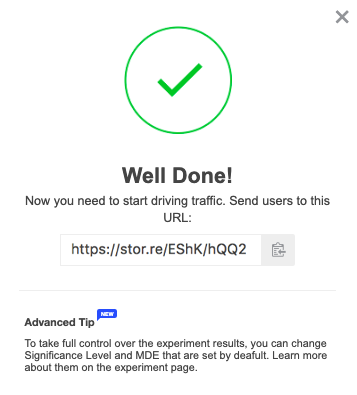
- Once the experiment is published, you will see a pop-up message providing the link that you have to copy and use in your Ad campaign. We’ll split the traffic equally and randomly between alternatives.
Congratulations! You’re a master of experiment creation at SplitMetrics.
If you need any help getting started with mobile A/B testing, use the in-app help button found on the bottom right and we’ll arrange a demo or walkthrough.
Mobile A/B Testing with SplitMetrics: How to Delete Apps
If you want to delete an App from your dashboard and add another one, you have to delete all experiments for this App as well.
There are 3 experiment statuses at SplitMetrics: Draft, Running and Finished:
- Draft is an unpublished Experiment.
- Running is a published but not finished Experiment.
- Finished is an experiment which was finished.
Note: you’re allowed to delete only Draft and Finished experiments. Thus, if you want to delete Running experiment, you should finish it first.
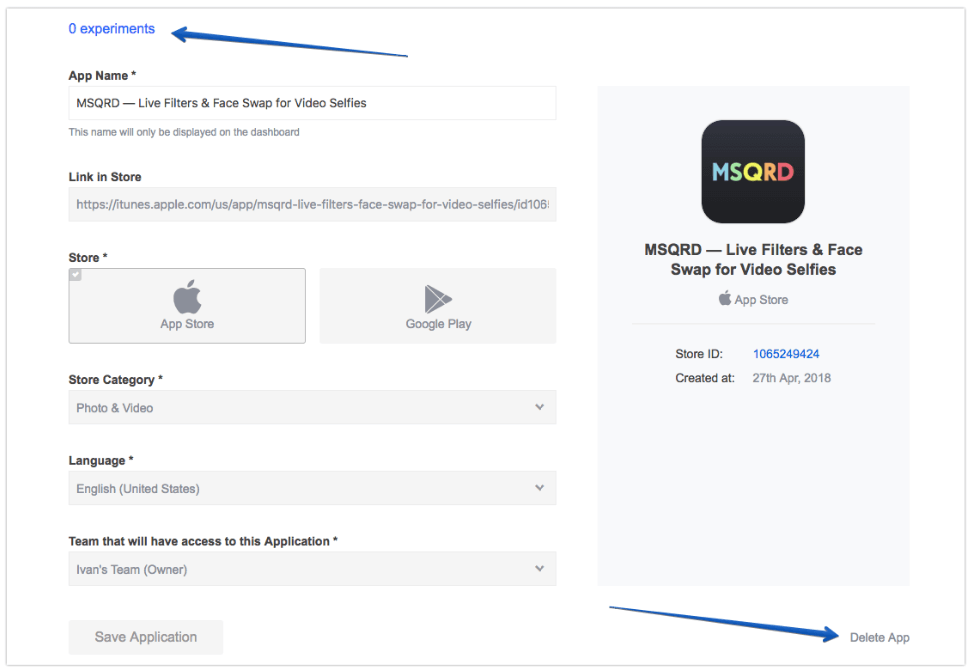
When all experiments were deleted, on your dashboard, you should Tap on the App you plan to delete. Then, double check that there is no experiment and in the bottom right-hand corner Tap “Delete” button.
So, you successfully deleted the App.


